Search This Blog

Saturday, June 18, 2016

Hot Italian Giardiniera


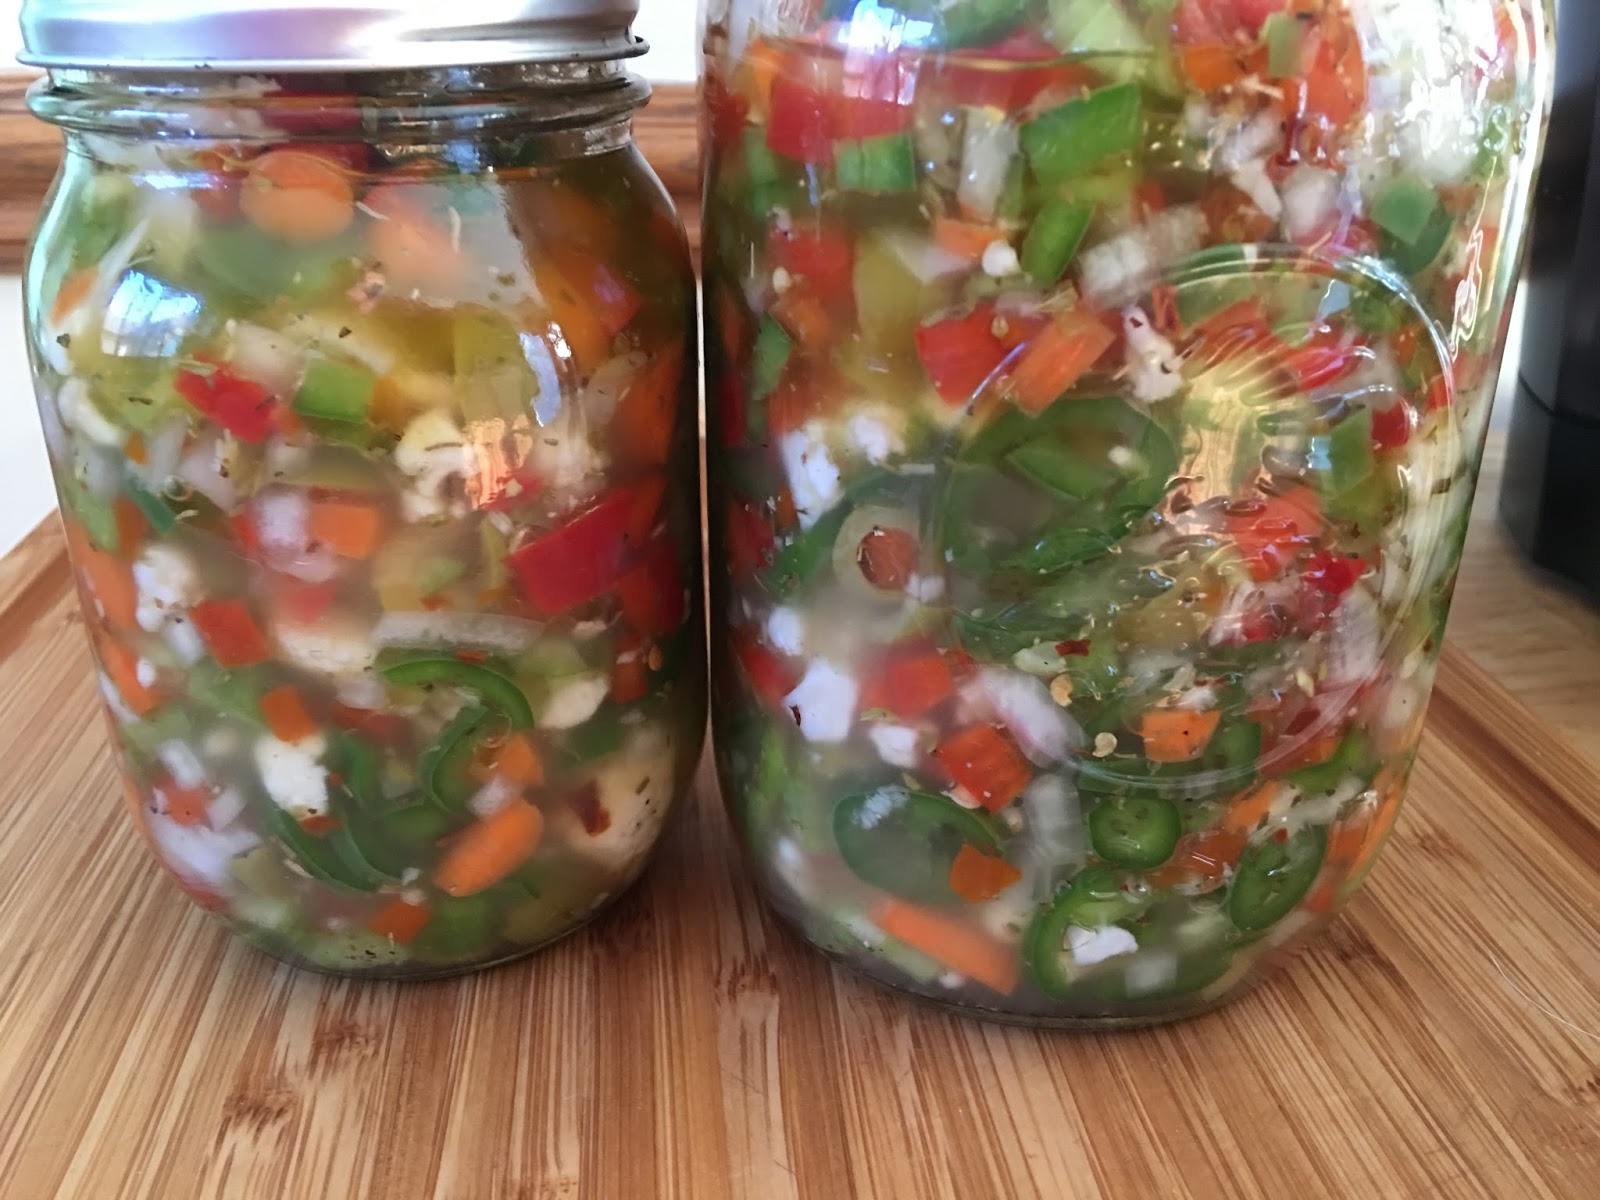
We love Chicago Style Italian Beef Sandwiches in our household. We take beef roasts and throw them in the crock pot to make our own. One thing I did not attempt before was making my own giardiniera. Wow, that's all I can say after making this recipe. I will NEVER go back to store bought. The best thing about making your own is that you can play around with what you want to add and make it as hot or not as you want to. The recipe I used was from http://allrecipes.com/recipe/81581/hot-italian-giardiniera/?lnkid=pin3327&crlt.pid=camp.wkcjzkrrni05
I do not post anything on the blog that I have not personally tried or like myself. Here is the recipe below with pictures from my first time making my hot Italian giardiniera.




Ingredients

  • 2 green bell peppers, diced
  • 2 red bell peppers, diced
  • 8 fresh jalapeno peppers, sliced
  • 1 celery stalk, diced
  • 1 medium carrot, diced
  • 1 small onion, chopped
  • 1/2 cup fresh cauliflower florets
  • 1/2 cup salt

  • water to cover
  • 2 cloves garlic, finely chopped
  • 1 tablespoon dried oregano
  • 1 teaspoon red pepper flakes
  • 1/2 teaspoon black pepper
  • 1 (5 ounce) jar pimento-stuffed green olives, chopped
  • 1 cup white vinegar
  • 1 cup olive oil

Directions

  1. Place into a bowl the green and red peppers, jalapenos, celery, carrots, onion, and cauliflower. Stir in salt, and fill with enough cold water to cover. Place plastic wrap or aluminum foil over the bowl, and refrigerate overnight.
  2. The next day, drain salty water, and rinse vegetables. In a bowl, mix together garlic, oregano, red pepper flakes, black pepper, and olives. Pour in vinegar and olive oil, and mix well. Combine with vegetable mixture, cover, and refrigerate for 2 days before using.

Monday, April 25, 2016

Cooked Beef Brisket


I tried another pinterest recipe tonight (my finished product above) and WOW oh WOW! This recipe is not only super easy, but DELICIOUS as well! It is rubbed with spices and marinated over night and then slow cooked in the oven at 275 degrees for 5 hours the next day.The original post and recipe is found here http://www.thefoodieaffair.com/2015/06/22/oven-cooked-barbecue-brisket/  I am also posting the recipe below (I used Sweet Baby Ray's BBQ sauce *original*)

Delicious Oven Cooked Barbecue Brisket


Prep time
Cook time
Total time
Author:
Recipe type: Main Dish - Beef
Serves: 8
Ingredients
  • 5-6 pounds brisket
  • 1 teaspoon celery salt
  • 1 teaspoon garlic powder
  • 1 teaspoon onion salt
  • 2 ounces liquid smoke
  • 1 ounce Worcester Sauce
  • 1 cup prepared Barbecue sauce (your choice)
Instructions:
In a small bowl whisk together celery salt, garlic powder and onion salt. Season both sides of the brisket. Place meat in a foil lined baking pan that is enough to fully enclose the meat. Pour Liquid Smoke and Worcester Sauce over the meat and as it drips to the side lift meat up so the liquid also seasons under the meat
Crimp the foil tightly over the meat. Return to the refrigerator and marinate overnight
Bring the meat to room temperature (30 minutes) and bake at 275 degrees for 5 hours. Remove foil and pour about 1 cup of barbecue sauce over the meat. Bake for an additional 60 minutes with the foil open.
Cool and slice into thin pieces.


Friday, April 22, 2016

Chicken Pizza Bake


I found this awesome recipe on pinterest here ~ https://www.pinterest.com/pin/253046072790010369/

As you know, I love to try different recipes from pinterest. I can't tell you how many amazing recipes I have found on there, but sometimes when you try those mouth watering recipes they turn out... well.... not so mouth watering haha This recipe was a HIT in my house. The recipe was super easy and fast. I did substitute a bag of shredded cheese instead (pizza blend)  and seasoned the breasts with Italian seasonings, salt, pepper, and garlic powder, but for the rest I followed the recipe accordingly. I feel like this recipe is so versatile too, you could make it your own and still turn out perfectly. The recipe below is from pinterest

Ps ~ Did I mention this is low carb? BONUS!!

Low-Carb Pepperoni Pizza Chicken Bake
(Makes 6-8 servings, depending on what else you serve with it.  Recipe developed by Kalyn and Jake, with a few tries that weren't quite right but got eaten anyway!)

Ingredients:
1 jar (14 oz) pizza sauce, reduced to 1 cup
(Use the lowest-carb sauce you can find, or make your own pizza sauce and omit the sugar.)
4 large boneless-skinless chicken breasts (6-8 oz. each)
1 T olive oil
1 tsp. Greek oregano (sometimes just called oregano)
1 tsp. garlic powder
6 oz. piece of part-skim Mozzarella, sliced about 1/4 inch thick
2 oz. sliced pepperoni (regular or turkey pepperoni)
  
Instructions:
Preheat oven to 400F/200C.  Put the pizza sauce in a small saucepan and simmer over low heat until it's reduced to one cup, about 20 minutes.  Don't skip this step or the dish will be watery.

While the sauce reduces, trim the chicken breasts and cut each one crosswise to make two same-size pieces.  Put chicken pieces one at a time inside a heavy plastic bag and use a meat mallet (or something heavy) to pound the chicken until it's as thin as you can get it without it shredding apart.  (Don't worry if some pieces break apart a little.)  Mix the Greek oregano and garlic powder in a little bowl and then sprinkle both sides of each piece of chicken with the mixture.

Heat the olive oil over medium-high heat in the largest non-stick frying pan you have (you may have to do this in 2 batches if your pan isn't big enough.) Add the chicken pieces and cook 1-2 minutes on each side, just long enough to brown the chicken but not long enough to cook it through.

Choose the smallest glass casserole dish you have that will fit all the browned chicken pieces, and lay the chicken in the dish in a single layer.  Cut the Mozzarella into slices and cut the slices as needed to make enough pieces to mostly cover the top of each piece of chicken.

By now the sauce should be nicely reduced, so spread sauce over the top of each chicken breast.  (Use it all.)  Top each piece with sliced Mozzarella and pepperoni slices, covering the top of each piece of chicken as much as you can.

Bake uncovered about 25-30 minutes, or until the cheese is melted and starting to brown and the pepperoni is slightly crisped.  (Some pieces of pepperoni will slice off the chicken, try not to obsess about that like I did.)  Serve hot.

Saturday, February 6, 2016

Jet Cleaner

This is the first year we have owned a Jet Tub and I never really thought that the jets/pipes would need to be cleaned. I mean, I have scrubbed the heck out of the inside of the tub, but the jets? Well, my husband brought it up and I went on the hunt for a good cleaner. Worth a try right? well holy cow, this cleaner amazed me! I guess dead skin, gunk, fungus all get in those pipes and jets and just hang out. Here is the product I used and I can't say enough good things about it ALONG with the link to amazon.  http://amzn.com/B008VGMWCO


*no I did not receive this product for free or asked to review it*

Lemon MINT water

I have this newest obsession... Ice water with fresh lemon and mint! I was at Walmart (which is a pretty rare occurrence for me) and I found in the produce section, a live mint plant *organic*. I couldn't resist. I started cleaning a few leaves a day and tossing them in a glass with lemon, ice, and water (sparkling or regular) and wow! it is soooo delicious. The mint and lemon work very well together and are quite refreshing. Mint also carries great health benefits such as soothing the digestive tract, blood cleanser, reduces the growth of bacteria and fungus, and may help prevent different types of cancer. I say... DRINK UP!


BUTTER STEAK

I am a HUGE pinterest fan and I am ALWAYS trying new recipes. I have to say there are some that I am glad I tried and some that I am sad to say just didn't work for me.

When I come across a really good recipe I stick it in my regular cooking pile. If you like yummy steak, this is the recipe for you. I found this recipe off of "Lauren's Latest" a blog with some great food recipes. Here is a picture of how MY STEAKS looked with Lauren's recipe & yes, it's true... you can buy cheap cuts of steak and they turn out wonderfully.


It all starts off with some butter in a pan. Sweet sweet butter. Turn your pan up so its screaming hot. For me, thats medium high. If you turn our burner on high, I swear it’ll burn the place down. Also, preheat the oven to 350.


Next comes our lovely Sirloin. We had some awesome steaks in this one! Salt and pepper the one side of the meat, place it seasoning side down into the pan and then add the s&p to the other side.


It’ll look something like this. Sizzle away, boys! You want the one side to get dark and yummy looking. Kind of vague with the description…..I can do better: cook your meat 3-4 minutes on the first side without touching it or moving it around. Movement=bad.


Now, when you are ready, flip your steaks over, top them with butter and throw them into your hot oven for 5 minutes, keeping them in the same skillet! Did I mention you need to use an oven proof pan? Oops...


So, after 5 minutes, take them out of the oven, transfer them to a plate and cover them with foil. Let these babies rest! They’ve been through a lot, after all


After 5 minutes, take the foil off and slice thinly and for everything that pure and holy, cut against the grain!!