
Showing posts with label food. Show all posts
Showing posts with label food. Show all posts
Tuesday, July 26, 2016

Sunday, July 17, 2016
Sausage Egg and Cheese Breakfast Sliders with Syrup Glaze

Are you a fan of the Mcgriddle from McDonalds? Well, if you are these breakfast sandwhiches are perfect for you to make at home. They are super easy and taste just like a mcgriddle, which won over quite well with my kids when I made these. The entire house scarfed these up within minutes. You bake the sausage and eggs in a glass pan to make them rectangular shaped and also makes the recipe that much easier to make. I got the recipie here , but I will add the recipe below for convenience!
Sausage Egg and Cheese Breakfast Slider Sandwiches with Syrup Glaze |
Ingredients
2 - 12 roll packages of Hawaiian Sweet Rolls
2 - 16 oz Jimmy Dean Sausage, Original flavor
12-14 large eggs
1- 11 count package Great Value colby jack cheese slices
¼ cup butter
¼ cup syrup ( I used slightly less syrup & still tasted great)
Instructions
Spread sausage evenly in the bottom of a 13x9 baking dish and pat down. Scramble eggs in a bowl, then pour into a second 13x9 well greased baking dish and bake at 350F for 18-22 minutes or until the eggs are set and the sausage is 170F.
Slice through the Hawaiian rolls horizontally and place the bottoms of the rolls in a 13x9 baking dish.
Layer the sausage, eggs and cheese slices on top and then place the tops of the rolls on top.
Use a knife to follow the lines of the rolls and slice through the layers to form individual sandwiches.
Melt the butter in a microwave safe dish. Stir in the syrup until it is completely combined and appears creamy.
Brush the syrup mixture over the top of the sandwiches allowing it to drip between the cracks.
Bake at 350F for 10-15 minutes or until heated through and the cheese is melted.
Serve hot, and enjoy!


Sunday, July 10, 2016
Key Lime Pie Dip

I made this recipe for the Fourth Of July and it was a huge hit in my household. It's like, fluffy, and delicious without being too sweet. Not to mention it is extremely fast and easy and has very few ingredients. What else is great about this recipe is that once you try it, you will be going nuts thinking about all the different pudding and pie combinations you can try just like this. I found the recipe here http://www.shakentogetherlife.com/2016/03/key-lime-pie-dip.html
I will also include the recipe below for convenience
Ingredients
One EDWARDS® Key Lime Pie
One small box of instant lemon pudding mix
One cup of cold milk
8 oz.of thawed whipped topping
Your choice of dippers: graham crackers, shortbread cookies or pretzels
Lime (optional for zest and garnish)

Instructions
Remove pie from freezer and allow to thaw about 10 minutes.
While the pie is thawing, mix up the base for the dip.
Whisk together milk and pudding mix.
Allow pudding mixture to set for a minute or so.
Fold in thawed whipped topping - mix just until pudding mixture and whipped topping are combined.
Cut two slices (1/4) of the pie into bite sized pieces.
Gently fold the pieces of pie into the dip.
Spoon dip into serving bowl.
If using the lime, grate fresh lime zest over the top of the tip and garnish with a lime wedge.
Serve with graham crackers, shortbread cookies or pretzels
Saturday, June 18, 2016
Hot Italian Giardiniera

We love Chicago Style Italian Beef Sandwiches in our household. We take beef roasts and throw them in the crock pot to make our own. One thing I did not attempt before was making my own giardiniera. Wow, that's all I can say after making this recipe. I will NEVER go back to store bought. The best thing about making your own is that you can play around with what you want to add and make it as hot or not as you want to. The recipe I used was from http://allrecipes.com/recipe/81581/hot-italian-giardiniera/?lnkid=pin3327&crlt.pid=camp.wkcjzkrrni05
I do not post anything on the blog that I have not personally tried or like myself. Here is the recipe below with pictures from my first time making my hot Italian giardiniera.


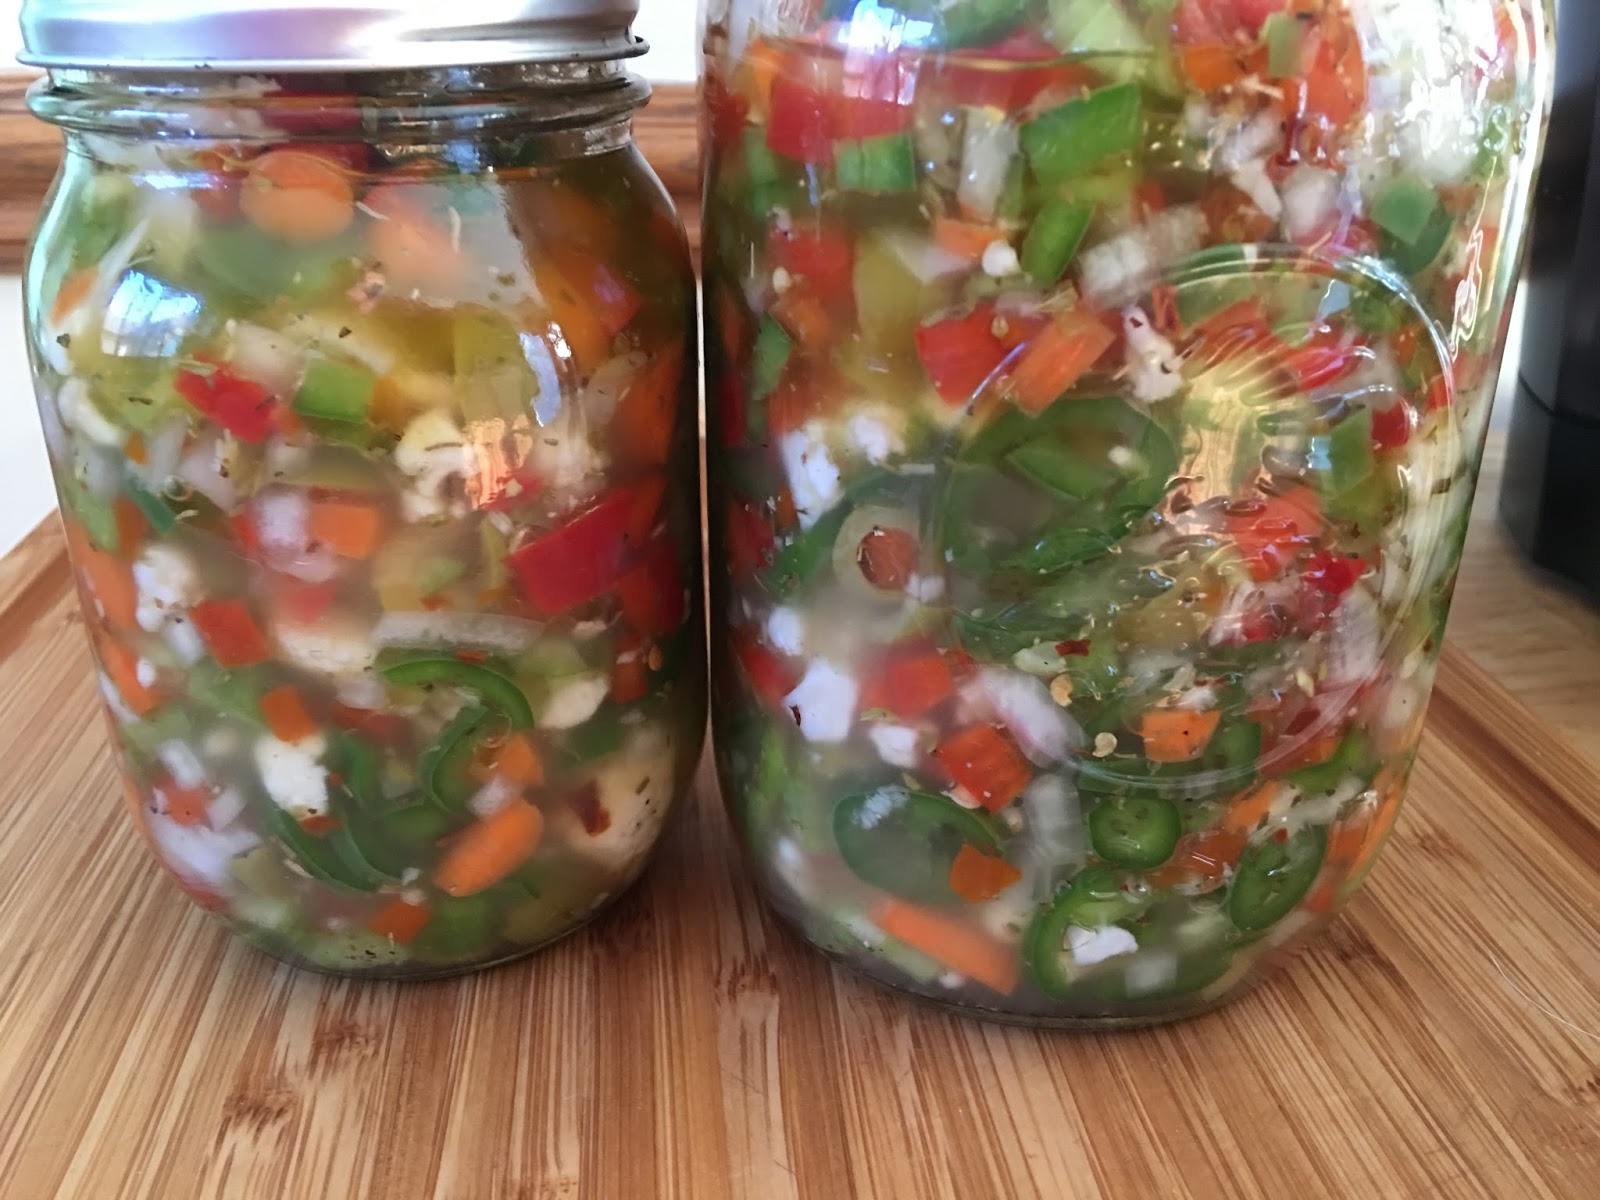
Ingredients
- 2 green bell peppers, diced
- 2 red bell peppers, diced
- 8 fresh jalapeno peppers, sliced
- 1 celery stalk, diced
- 1 medium carrot, diced
- 1 small onion, chopped
- 1/2 cup fresh cauliflower florets
- 1/2 cup salt
- water to cover
- 2 cloves garlic, finely chopped
- 1 tablespoon dried oregano
- 1 teaspoon red pepper flakes
- 1/2 teaspoon black pepper
- 1 (5 ounce) jar pimento-stuffed green olives, chopped
- 1 cup white vinegar
- 1 cup olive oil
Directions
- Place into a bowl the green and red peppers, jalapenos, celery, carrots, onion, and cauliflower. Stir in salt, and fill with enough cold water to cover. Place plastic wrap or aluminum foil over the bowl, and refrigerate overnight.
- The next day, drain salty water, and rinse vegetables. In a bowl, mix together garlic, oregano, red pepper flakes, black pepper, and olives. Pour in vinegar and olive oil, and mix well. Combine with vegetable mixture, cover, and refrigerate for 2 days before using.
Monday, April 25, 2016
Cooked Beef Brisket

I tried another pinterest recipe tonight (my finished product above) and WOW oh WOW! This recipe is not only super easy, but DELICIOUS as well! It is rubbed with spices and marinated over night and then slow cooked in the oven at 275 degrees for 5 hours the next day.The original post and recipe is found here http://www.thefoodieaffair.com/2015/06/22/oven-cooked-barbecue-brisket/ I am also posting the recipe below (I used Sweet Baby Ray's BBQ sauce *original*)
Delicious Oven Cooked Barbecue Brisket

Prep time
Cook time
Total time
Author: Sandra @ The Foodie Affair
Recipe type: Main Dish - Beef
Serves: 8
Ingredients
- 5-6 pounds brisket
- 1 teaspoon celery salt
- 1 teaspoon garlic powder
- 1 teaspoon onion salt
- 2 ounces liquid smoke
- 1 ounce Worcester Sauce
- 1 cup prepared Barbecue sauce (your choice)
Instructions:
In a small bowl whisk together celery salt, garlic powder and onion salt. Season both sides of the brisket. Place meat in a foil lined baking pan that is enough to fully enclose the meat. Pour Liquid Smoke and Worcester Sauce over the meat and as it drips to the side lift meat up so the liquid also seasons under the meat
Crimp the foil tightly over the meat. Return to the refrigerator and marinate overnight
Bring the meat to room temperature (30 minutes) and bake at 275 degrees for 5 hours. Remove foil and pour about 1 cup of barbecue sauce over the meat. Bake for an additional 60 minutes with the foil open.
Cool and slice into thin pieces.
Saturday, February 6, 2016
BUTTER STEAK
I am a HUGE pinterest fan and I am ALWAYS trying new recipes. I have to say there are some that I am glad I tried and some that I am sad to say just didn't work for me.
When I come across a really good recipe I stick it in my regular cooking pile. If you like yummy steak, this is the recipe for you. I found this recipe off of "Lauren's Latest" a blog with some great food recipes. Here is a picture of how MY STEAKS looked with Lauren's recipe & yes, it's true... you can buy cheap cuts of steak and they turn out wonderfully.


It all starts off with some butter in a pan. Sweet sweet butter. Turn your pan up so its screaming hot. For me, thats medium high. If you turn our burner on high, I swear it’ll burn the place down. Also, preheat the oven to 350.
Next comes our lovely Sirloin. We had some awesome steaks in this one! Salt and pepper the one side of the meat, place it seasoning side down into the pan and then add the s&p to the other side.
It’ll look something like this. Sizzle away, boys! You want the one side to get dark and yummy looking. Kind of vague with the description…..I can do better: cook your meat 3-4 minutes on the first side without touching it or moving it around. Movement=bad.
Now, when you are ready, flip your steaks over, top them with butter and throw them into your hot oven for 5 minutes, keeping them in the same skillet! Did I mention you need to use an oven proof pan? Oops...
So, after 5 minutes, take them out of the oven, transfer them to a plate and cover them with foil. Let these babies rest! They’ve been through a lot, after all
After 5 minutes, take the foil off and slice thinly and for everything that pure and holy, cut against the grain!!
Subscribe to:
Posts (Atom)